
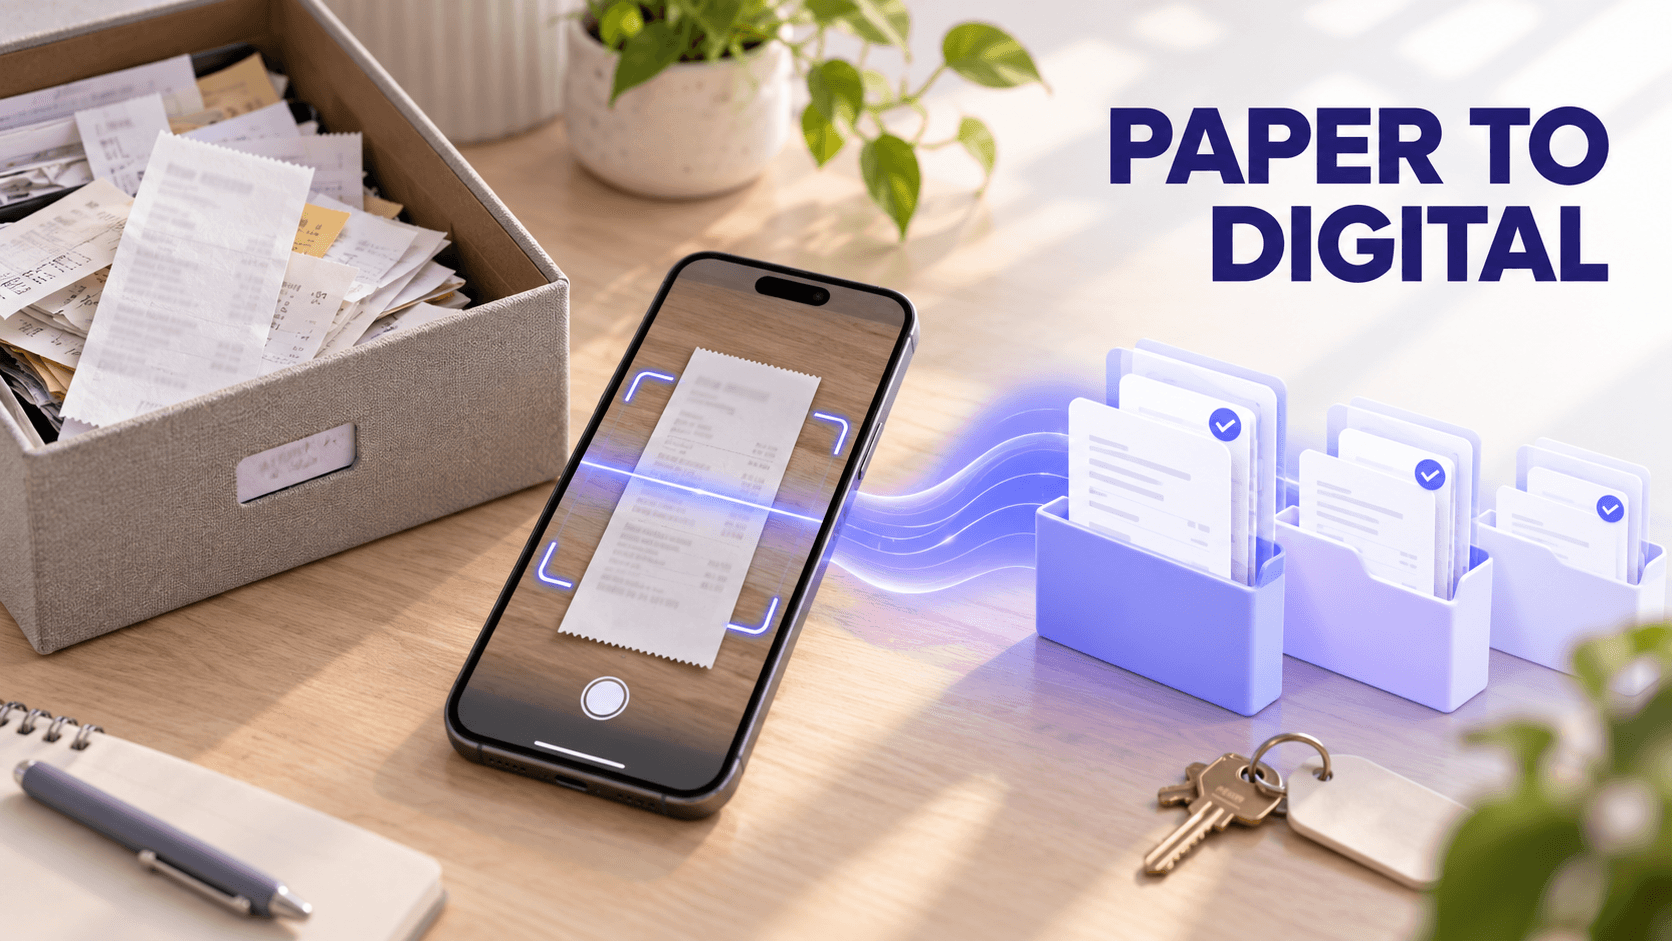
To convert paper receipts into digital records, capture a complete image of each receipt, verify that every important detail is readable, add the related business information, organize the file in a searchable system and confirm that it can be retrieved before disposing of the paper.
For a property manager, this means more than scanning a receipt and saving it to a computer. A useful digital record should identify the property, unit, vendor, repair and financial transaction connected with the purchase. A contractor may need to connect the receipt with a customer project, while a bookkeeper needs enough information to verify and categorize the expense.
The goal is not simply to create receipt images. It is to build reliable records that remain useful for bookkeeping, tax preparation, reimbursements and financial review.
Quick answers about digitizing paper receipts
How do I convert paper receipts into digital records?
Photograph or scan the entire receipt, review the image for readability, confirm the vendor, date, items and amount, add its business purpose, organize it by the appropriate property, project or category and connect it with the related financial transaction.
Keep the paper until the digital copy has been reviewed, stored, backed up and tested.
What file format is best for storing digital receipts?
PDF is generally the most practical format for scanned receipts, especially when a transaction has multiple pages. PDF/A is designed for long-term preservation and may be useful when an organization needs more formal archival controls.
JPEG works well for individual phone photos, while PNG can preserve screenshots and fine text without lossy compression. The IRS does not require one specific file format. The record’s completeness, accuracy, legibility and accessibility matter more than its file extension.
What makes a digital receipt copy readable and complete?
A readable and complete copy shows the entire receipt, including the vendor, date, item or service details, taxes, total and other relevant information. It should not be blurry, cropped, shadowed, distorted or missing additional pages.
How do I create a paperless receipt workflow?
Choose one capture method, establish one central destination, review every document, add business context, categorize the expense, match it with the financial transaction and conduct a regular review for missing or incomplete records.
How can I move from shoeboxes of receipts to a digital system?
Stop adding new receipts to the backlog first. Then sort the existing receipts into manageable batches, digitize one batch at a time, verify each batch and keep the processed paper separate until the digital records have been confirmed.
How do I safely dispose of paper receipts after digitizing them?
Do not dispose of the paper until you have verified the digital copy, confirmed that it is backed up and checked whether the original is required for another purpose. Receipts containing financial or personal information should be shredded or destroyed securely rather than placed intact in the trash.
What equipment do you need to digitize paper receipts?
You do not necessarily need a dedicated document scanner. The right capture method depends on how many receipts you have and where they enter the business.
A smartphone
A smartphone is usually the most practical option for receipts collected away from an office.
A property manager can photograph a hardware-store receipt immediately after purchasing supplies for an apartment repair. A plumber can capture a supply-house receipt before leaving the parking lot. Immediate capture reduces the chance that the receipt will fade, disappear or lose its business context.
A receipt-capture app provides more structure than a general phone camera because it can send the image directly into the business’s document workflow.
A document scanner
A scanner can be useful when converting a large paper backlog or processing receipts in a central office.
Look for features such as:
- Automatic document feeding
- Duplex scanning when both sides contain information
- Adjustable image quality
- Multi-page PDF creation
- Automatic cropping and rotation
- Optical character recognition
- Direct uploading to the selected storage system
Small or irregular receipts may not move through an automatic feeder correctly. Review scanned batches carefully for overlapping pages, crooked images and skipped documents.
A multifunction printer
An office printer with scanning capabilities can process occasional receipts, invoices and bills. It may be slower than a dedicated scanner, but it can be sufficient when the business has a limited backlog.
An existing digital receipt
Do not print an emailed receipt simply to scan it again. Save the original PDF, email attachment or downloaded transaction record whenever possible.
The original digital document may contain clearer information than a new image created from a printed copy.
What file format is best for digital receipts?
There is no single required format for every receipt. Choose a widely supported format that preserves the document clearly and can be opened without specialized software.
| File format | Best use | Advantages | Considerations |
| Scanned receipts and multi-page transactions | Widely supported, can combine related pages and may include searchable text | Confirm that the original image remains clear | |
| PDF/A | Long-term preservation of page-based documents | Designed to preserve a document’s appearance over time | Not every scanning tool creates a properly validated PDF/A file |
| JPEG | Individual receipt photos | Compatible with most devices and relatively small | Repeated editing and resaving can reduce image quality |
| PNG | Screenshots and receipts with fine text | Preserves image details without lossy compression | Files can be larger than JPEG images |
| TIFF | High-quality archival scanning | Can preserve detailed, lossless images | Large files and less convenient for everyday workflows |
For most property managers, contractors and consultants, a clear PDF or high-resolution JPEG will be the most practical choice. If a receipt includes multiple pages, related warranty information or both sides of a document, a single PDF can keep those pages together.
The Library of Congress describes PDF/A as a family of standards intended for the long-term preservation of page-oriented documents. PDF/A can be useful for formal archival needs, but it is not an IRS requirement for ordinary receipt storage.
File format alone does not make the record reliable. A blurry PDF is still blurry, and an incomplete TIFF is still incomplete.
What makes a digital receipt readable and complete?
A usable digital copy should reproduce all the information someone would have been able to review on the paper receipt.
Capture the entire document
Include all four edges of the receipt. Do not crop out the vendor name, transaction date, payment details or bottom portion of a long receipt.
When a receipt is too long to capture clearly in one picture, use a scanning feature that supports long receipts or capture overlapping sections in the correct order.
Preserve important details
The image should show the applicable details, including:
- Vendor or payee
- Transaction date
- Item or service description
- Quantity
- Subtotal
- Taxes and fees
- Discounts
- Tip when applicable
- Total amount
- Payment method
- Order or transaction number
The receipt may not contain the entire business explanation. That additional context should be added during review.
Check the image at a readable size
Open the saved file and zoom in. Confirm that small text remains readable and that image compression has not made the numbers difficult to distinguish.
When using a scanner, a setting around 300 dpi is a practical starting point for receipts with small text. Faint thermal receipts may require a higher-quality or contrast-enhancement setting.
Watch for common capture problems
Retake or rescan the receipt if the image has:
- Glare
- Dark shadows
- Blurred text
- Folded sections
- Cropped edges
- Fingers covering information
- Distorted proportions
- A background that makes the receipt difficult to distinguish
- Missing pages or reverse-side information
Keep the original image with extracted data
Optical character recognition can turn details such as the vendor, date and amount into searchable data. That information is useful, but it should not replace the receipt image.
Retaining the image allows someone to check the extracted information against the source document.
What business information should be added to a digital receipt?
A receipt normally explains what was purchased, but it may not explain why the purchase was related to the business.
Add enough context to connect the purchase with the business activity.
For a property manager
Record:
- Property address
- Unit number when applicable
- Property owner or entity
- Type of repair or expense
- Tenant-related information when relevant
- Person who made or approved the purchase
- Whether the expense is reimbursable
A hardware-store receipt labeled only “repairs” may be difficult to interpret later. A note such as “replacement bathroom faucet for Unit 3B at Oak Street property” provides much clearer context.
For a residential contractor
Record:
- Customer or project
- Jobsite
- Materials, equipment or expense type
- Crew member who made the purchase
- Reimbursement status
- Whether materials will be billed to the customer
For an independent consultant
Record:
- Client
- Engagement
- Business purpose
- Travel or meeting details
- Reimbursement status
For a bookkeeper
Confirm:
- Business entity
- Client
- Expense category
- Accounting period
- Source account
- Supporting documentation
- Review or approval status
Adding this context during digitization is easier than trying to reconstruct it months later.
How do you convert one paper receipt into a complete digital record?
Use the following process for each receipt.
1. Flatten and prepare the receipt
Smooth out folds and remove staples that hide information. If the receipt is faint, handle it carefully and capture it as soon as possible.
2. Photograph or scan the entire receipt
Place the receipt on a flat surface with a contrasting background. Use even lighting and keep the camera directly above the document.
3. Review the image
Do not assume that a successful upload means the receipt is readable. Open the file and check the small text, totals and edges.
4. Confirm the transaction details
Verify the vendor, transaction date, total and payment method. Correct information that was extracted or entered incorrectly.
5. Add the business purpose
Identify the property, customer, project or client connected with the expense. Add a brief note if the business connection is not obvious from the receipt.
6. Assign the appropriate category
Categorize the expense consistently. Property repairs, landscaping, cleaning, utilities and capital improvements should not automatically be placed in one general property-expense category.
Ask a qualified accounting or tax professional how particular expenses should be classified.
7. Match the receipt with the financial transaction
Connect the receipt with the related bank or credit-card transaction when possible.
The receipt shows what was purchased. The financial transaction helps confirm how and when it was paid.
8. Store the record in the correct location
Use a structure that reflects how the business needs to retrieve information.
A property manager may organize records by entity and property. A contractor may use customer and project. A bookkeeper may use client and accounting period.
9. Verify retrieval
Search for the document using the vendor, date, amount, category, property or project. Confirm that the receipt can be opened and reproduced clearly.
10. Move the paper to a pending-disposal batch
Do not mix verified paper with unprocessed receipts. Keep it in a clearly labeled temporary location until the entire batch has passed review and backup checks.
How can you move from shoeboxes of receipts to a digital system?
A large receipt backlog becomes manageable when it is treated as a controlled project rather than one enormous scanning session.
Stop the backlog from growing
Create the new capture process before working through old receipts. Otherwise, new paper will continue arriving while you are trying to reduce the existing pile.
Starting today, direct every new receipt into the digital workflow.
Create three physical groups
Use clearly labeled containers or folders:
- Not digitized
- Digitized, awaiting review
- Verified, awaiting disposal
This prevents a scanned receipt from accidentally returning to the unprocessed pile.
Sort broadly before scanning
Do not spend hours building perfect expense categories before digitizing anything.
Start with broad groups such as:
- Year
- Business entity
- Property
- Customer project
- Bank or credit-card account
- Employee or purchaser
A property manager handling multiple entities should separate those records before detailed categorization. Mixing receipts from different properties or ownership entities can create more work later.
Prioritize the most useful records
A practical order is:
- Current-year receipts
- Receipts needed for current bookkeeping or tax preparation
- Active properties or projects
- Recent prior years
- Older retained records
This allows the digital system to begin providing value before the entire backlog is finished.
Work in controlled batches
Choose a batch size that can be captured and reviewed during the same work session.
Scanning 500 receipts without reviewing them may create a digital backlog instead of solving the paper one. A smaller verified batch is more useful than a large collection of unreviewed images.
Keep each batch together
Use a batch label showing:
- Date processed
- Receipt period
- Property, project or entity
- Number of documents
- Person who processed the batch
- Review status
If an image is missing or unreadable, the paper source can be located quickly.
Check for duplicates
A digital receipt may already exist in an email inbox, vendor portal or financial-document system. Avoid creating several versions without knowing which one is authoritative.
Keep the clearest and most complete copy. Preserve additional documentation when it contains information not included in the primary receipt.
Reconcile the backlog
Compare digitized receipts with bank and credit-card activity. This can identify:
- Transactions with no receipt
- Receipts with no recorded transaction
- Duplicate images
- Incorrect amounts
- Personal purchases
- Reimbursements
- Transfers mistaken for expenses
Complete a final quality check
Before closing a batch, confirm that:
- Every image opens
- Text is readable
- All pages were captured
- The record is assigned to the correct entity
- The property, project or client is identified
- The category has been reviewed
- The transaction has been matched when possible
- The records are backed up
- The files can be found through search
Only then should the paper move into the verified group.
How do you create an ongoing paperless receipt workflow?
A paperless workflow should define what happens from the moment someone receives a receipt until the record is reviewed and retained.
Use one central destination
Receipts may arrive through stores, email, vendor portals, employee purchases and mobile apps. Route them into one central system instead of maintaining separate archives in multiple inboxes and phone galleries.
Capture receipts close to the transaction
Create a simple rule: capture the receipt before leaving the store, vehicle, property or jobsite whenever practical.
Immediate capture reduces lost receipts and makes it easier to record the business purpose.
Define required information
Establish the information every person must provide.
For a property-management team, the required fields might include:
- Property
- Unit
- Expense type
- Business purpose
- Purchaser
- Reimbursement status
For a contractor, replace the property fields with the customer, project and jobsite.
Assign review responsibility
Decide who checks:
- Image quality
- Extracted data
- Business purpose
- Expense category
- Transaction match
- Reimbursement status
- Missing documentation
Without a defined reviewer, uploaded receipts can remain incomplete.
Establish a regular review schedule
Review new receipts at least weekly and reconcile the related accounts monthly.
Frequent review makes it easier to correct missing information while the purchase is still recent.
Maintain retention and backup controls
The IRS explains that electronic records must follow the same basic recordkeeping principles as paper records.
The storage system should preserve the records for the required period and allow them to be retrieved and reproduced in a legible format.
How should digital receipts be named and organized?
If you store receipt files directly in folders, use a consistent naming convention.
One useful structure is:
YYYY-MM-DD_Vendor_Amount_Property-or-Project
For example:
2026-09-18_Hardware-Supply_186-42_Oak-Street-Unit-3B.pdf
Consistent filenames make files easier to sort and identify.
However, filenames should not carry the entire organizational burden. A receipt may relate to a vendor, property, expense category, tax year and financial account at the same time.
A receipt-management system can store those details as searchable fields instead of forcing every detail into one long filename.
For a complete structure, read How to Organize Digital Receipts with Folders, Categories, and Tags.
How do you safely dispose of paper receipts after digitizing them?
Do not destroy a paper receipt simply because a picture was taken.
IRS Publication 583 explains that original paper records may be destroyed when the electronic storage system has been tested to establish that it reproduces the records in compliance with IRS requirements and procedures are in place to maintain continued compliance.
Before disposing of paper, confirm that:
- The entire receipt was captured
- The image is readable
- All pages and both sides were included when needed
- The data has been reviewed
- Business context has been added
- The file is stored in the correct location
- The record can be retrieved
- A backup or reliable preservation process exists
- The original is not required for another purpose
Some originals may need to be retained for warranties, insurance claims, contracts, financing, returns, legal matters or other requirements.
The IRS also recommends checking whether records must be kept longer for non-tax purposes before discarding them. IRS: How long should I keep records?
Destroy sensitive paper securely
Receipts can contain names, partial payment-card numbers, account details, addresses and other information that should not be placed intact in an open trash or recycling container.
The Federal Trade Commission’s guidance for businesses recommends securely destroying paper containing sensitive information by shredding, burning or pulverizing it.
For a large backlog, consider using a reputable secure-document-destruction service. Businesses with formal compliance requirements may also need documentation showing when and how records were destroyed.
Common receipt-digitization mistakes
Scanning without reviewing
A fast scan does not help if the receipt is blurry, incomplete or assigned to the wrong property.
Combining unrelated receipts into one file
Several pages belonging to the same transaction can be stored together. Unrelated receipts should generally remain separate so they can be categorized, matched and retrieved individually.
Saving everything in a phone gallery
A gallery stores images but may not provide consistent business context, categories, retention controls or transaction matching.
Deleting the receipt image after extracting the text
OCR data can contain errors. Retain the underlying receipt image so the extracted information can be verified.
Using one folder for every property or project
Property managers should keep records associated with separate entities and properties distinguishable. Contractors should be able to retrieve costs by customer and project.
Creating digital files without a backup
Digitization replaces one vulnerable paper copy with an electronic record. That record still needs dependable storage and retention.
Disposing of paper before testing retrieval
Open several records from each batch and search for them using different fields before destroying the originals.
How we help turn paper receipts into organized records
With Neat, property managers, contractors and bookkeepers can bring paper and digital receipts into one document workflow.
You can:
- Photograph paper receipts with our mobile app
- Import existing images from a mobile device
- Capture multiple documents in batches
- Forward emailed receipts
- Upload PDFs and other financial documents
- Extract receipt information using OCR
- Review and edit captured details
- Organize records using folders and expense categories
- Add notes and business context
- Search using vendors, dates, amounts and categories
- Connect financial accounts
- Match receipts and invoices with transactions
- Share organized records with a bookkeeper or accountant
Consider a property manager processing receipts for several buildings. Instead of storing every paper receipt in one box, the manager can capture each document, review the extracted information, assign the correct property and expense category and match the receipt with the related financial transaction.
Explore our mobile receipt-management tools to see how paper receipts can become searchable financial records.
Automated capture reduces manual work, but the final record should still be reviewed. The person who understands the transaction remains responsible for confirming its accuracy, purpose and classification.
Start with the next receipt
Moving to digital records does not require converting every old receipt in one day.
Start by preventing new paper from entering the backlog. Capture the next receipt when it is received, review it, add its business context and store it in the correct place.
Then work through the existing paper in controlled, verified batches.
A successful paperless process does more than eliminate boxes. It creates records that property managers, contractors and bookkeepers can find, understand and use when financial questions arise.
Ready to turn paper receipts into organized digital records? Start your free trial and create a searchable receipt workflow.
This article provides general educational information and is not tax, legal, accounting, security or records-management advice. Retention and disposal requirements vary by document, jurisdiction, industry and business circumstances. Consult qualified professionals before destroying records.
Share This Article


Popular

September 23rd, 2026

March 9th, 2022


June 26th, 2020


October 2nd, 2026