
How to Organize Receipts by Client, Project, Location or Entity
September 29th, 2026 | Small Business Resources
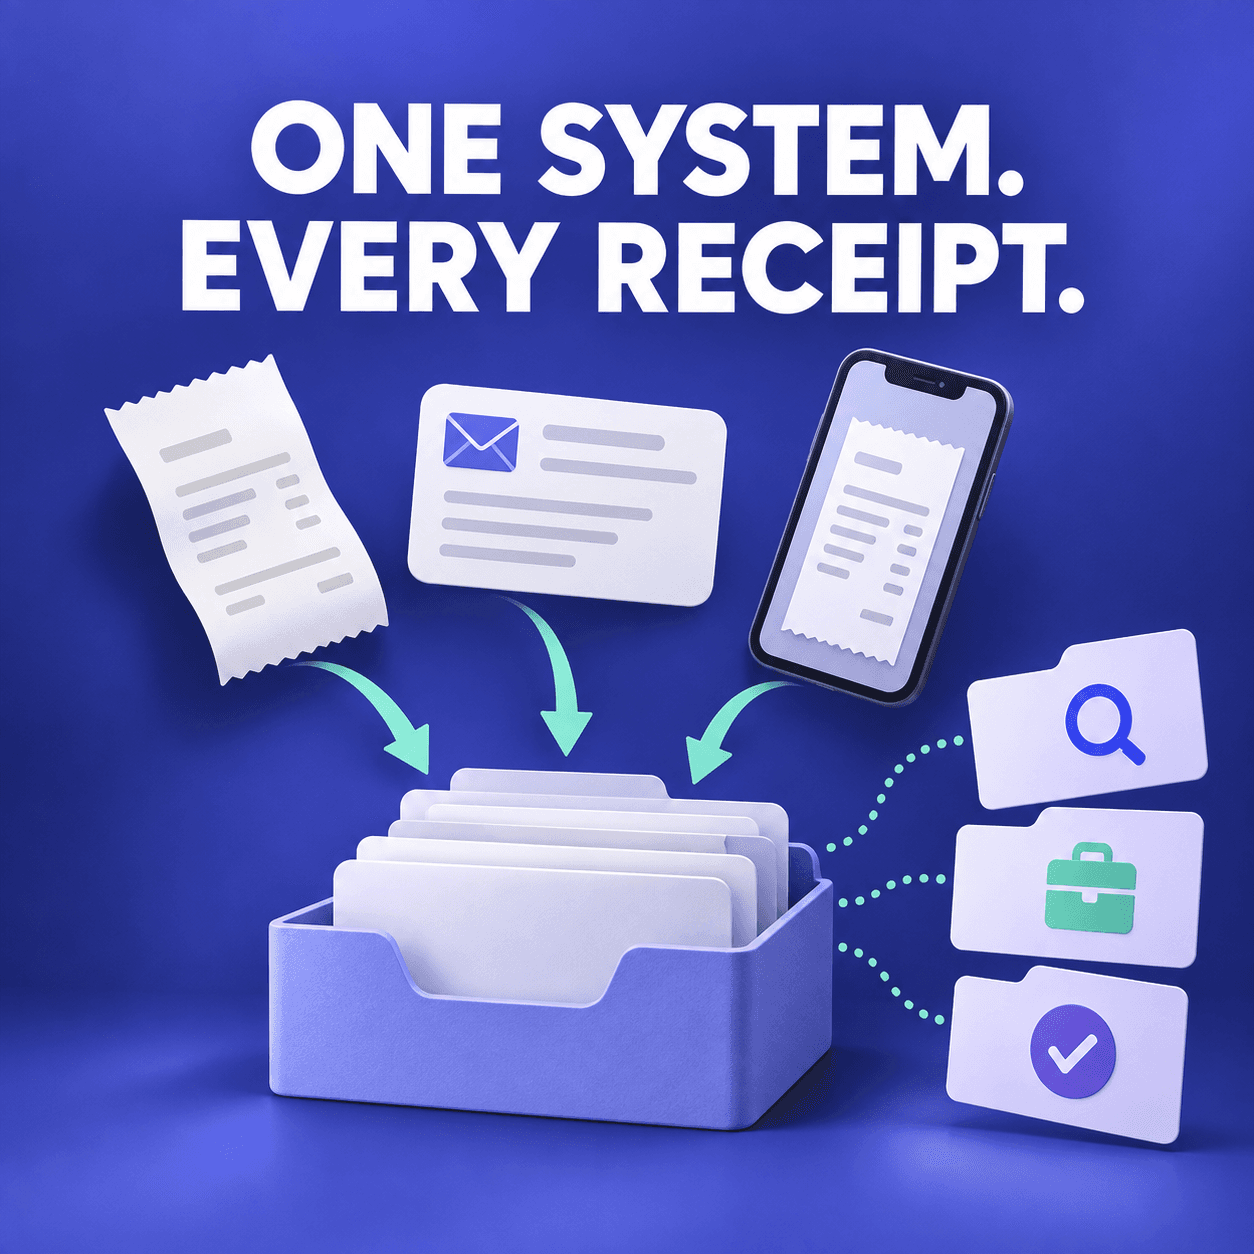
As a contractor, you may receive receipts from several vendors, payment cards, locations, projects, or even related businesses. A single receipt might belong to one business, support a particular client project, come from a specific location, and have been purchased by one employee.
The challenge is deciding which detail controls where the receipt belongs.
The most reliable approach is to organize receipts from the outside in: business entity first, then tax year, followed by expense category and operational details such as client, project, location or employee.
This creates a process employees can follow while helping you keep records ready for bookkeeping, reporting and tax preparation.
Quick answers about organizing receipts across a business
How should I organize receipts for multiple businesses?
Create a separate account, cabinet, or top-level filing structure for each business, especially when the businesses are distinct legal or tax entities. Connect only that business’s financial accounts and store its receipts, categories, and reports separately. Use an approved business identifier on every record and avoid relying on tags alone to maintain boundaries between entities.
How should I organize receipts for different clients or projects?
Store the receipt once, assign the appropriate expense category and add the client or project as a searchable field. Use a consistent project-naming convention and require employees to select from approved values. If one receipt supports several projects, document how the expense was allocated rather than creating unexplained duplicate copies of the receipt.
How do I organize receipts from multiple business locations?
Assign every receipt a standardized location name or code, such as WIL-01 or PHL-02. Keep the expense category separate so office supplies remain office supplies regardless of where they were purchased. Location identifiers make it easier for an office manager to compare spending, investigate unusual purchases and prepare location-specific reports without maintaining separate copies.
How do I organize receipts when several employees use the same card?
Require each employee to identify themselves when submitting a receipt and include the business purpose, category, project or location. Match the receipt with the shared-card transaction during the monthly review. Establish a submission deadline and follow up on unmatched charges. Employee identification is essential because the cardholder name alone cannot show who made each purchase.
An office manager should maintain a complete, separate receipt system for each business. Give every entity its own account, digital cabinet, or clearly separated top-level folder. Within each business, organize receipts by tax year and expense category, then add the appropriate client, project, location, and employee information.
This separation is important because receipts support each business’s individual financial records.
The IRS states that someone who owns more than one business must maintain a complete and separate set of books and records for each business. Sole proprietors operating more than one business may also need to complete a separate Schedule C for each one. (IRS Publication 583; Schedule C instructions)
A basic structure might look like this:
- Northside Design LLC
- 2026
- Advertising
- Office supplies
- Software
- Travel
- 2026
- Northside Property LLC
- 2026
- Repairs and maintenance
- Utilities
- Professional services
- Property supplies
- 2026
Each business should also use its own bank accounts and payment cards whenever possible. Connect each financial account only to the receipt system for the business that owns it.
Avoid relying on tags alone to distinguish separate businesses. A missing or incorrect tag could cause a receipt to be included in the wrong records. Use a firm separation at the account, cabinet or top-folder level.
If several business activities operate under the same legal entity, ask your accountant whether they should be treated as separate businesses for bookkeeping or tax reporting. Your receipt organization should match the way the financial records are maintained.
What information should determine where a receipt belongs?
Every organizing detail answers a different question.
| Information | Question it answers | How to use it |
| Business or entity | Which business owns the expense? | Separate account, cabinet or top-level folder |
| Tax year | When will the expense be reported? | Year folder within the business |
| Expense category | What was purchased? | Accounting or tax category |
| Client or project | Why was the purchase made? | Project field, tag or folder |
| Location | Where was the purchase used? | Standard location code or tag |
| Employee | Who made the purchase? | Submitter field, note or tag |
| Payment account | How was it paid? | Bank or card account |
| Review status | Has the receipt been verified? | Status field or review queue |
This structure allows you to maintain one authoritative receipt while still searching and reporting on it in several ways.
For example, a receipt could belong to:
- Northside Design LLC
- Tax year 2026
- Travel
- ACME Website Project
- Philadelphia office
- Submitted by Jordan
- Card ending in 4821
You should not need to save six copies of that receipt. Store one copy and attach the relevant information to it.
How should I organize receipts for different clients or projects?
Contractors should store project receipts within the correct business and tax year, assign the appropriate expense category, and add the client or project as a separate field or tag. Create a dedicated project folder only when the project has many receipts, lasts for several months or requires its own budget, reimbursement, or documentation package.
Expense category and project serve different purposes.
The category explains what the business purchased. The project explains why the purchase was made.
For example:
| Purchase | Expense category | Client or project |
| Hotel stay | Travel | ACME Conference |
| Printing | Advertising | Smith Product Launch |
| Contractor software | Software | Website Redesign |
| Building materials | Supplies | Wilmington Renovation |
Capturing both details allows the office manager to answer questions such as:
- How much did we spend on travel?
- How much did we spend on the ACME project?
- Which expenses should be billed back to the client?
- Has the project exceeded its budget?
- Which receipts need to be included with a reimbursement request?
For every client or project expense, require employees to provide:
- Client name or client code
- Project or job name
- Business purpose
- Reimbursable or non-reimbursable status
- Vendor, date and amount
- Employee who made the purchase
- Payment method
Create a controlled list of project names and codes. Do not allow employees to invent a different version of the project name each time they submit a receipt.
For example, if employees use Acme Website, ACME Web and Acme 2026, reporting may treat those as three different projects.
A standardized code such as ACME-WEB-26 reduces inconsistencies.
If filenames are part of your system, use a predictable format:
YYYY-MM-DD_Vendor_Project_Amount
For example:
2026-09-09_PrintShop_ACME-WEB-26_84.50.pdf
A standardized filename is helpful, but searchable receipt fields are more flexible than filenames alone.
When should a project have its own folder?
A separate project folder can be useful when:
- The project produces a large number of receipts
- The work continues for several months
- Expenses must be reviewed against a project budget
- The client will reimburse certain expenses
- The project requires its own documentation package
- Receipts need to be shared with a project manager
- The documents will be exported together when the project ends
For occasional project expenses, a tag or project field is usually enough. Creating a folder for every small project can make the filing system unnecessarily complicated.
How do I organize receipts from multiple business locations?
Office managers should keep the business entity as the top level and require a consistent location code on every receipt. Use the same expense categories across all locations so spending can be compared accurately. Create separate location folders only when a location manager must independently review, approve, or export that location’s records.
Choose one short, stable code for each site.
For example:
PHL-01for PhiladelphiaWIL-02for WilmingtonREMOTEfor remote operationsWH-01for the main warehouse
Include these codes in your employee receipt-submission instructions. Employees should select the location when they capture the receipt instead of waiting until the end of the month.
Each location receipt should include:
- Business entity
- Location code
- Expense category
- Vendor
- Purchase date
- Amount
- Employee or purchaser
- Business purpose
- Client or project, when applicable
Do not organize location receipts solely by vendor. The same hardware store, restaurant, office-supply company or utility provider may serve several locations.
The vendor tells you who received the payment. The location tells you which part of the business used the purchase.
If each location has its own payment card, label the accounts consistently. For example:
- Operations Card, PHL-01
- Operations Card, WIL-02
- Facilities Card, WH-01
If multiple locations use the same card, require a location code with every receipt submission.
How do I organize receipts when several employees use the same card?
An office manager should require the employee who made the purchase to capture the receipt promptly and provide their name, the business purpose, the correct entity, the location or project and the shared card’s last four digits. Send submissions to one review queue, match each receipt to its card transaction and reconcile unmatched transactions weekly.
A card statement shows that a transaction occurred, but it may not identify the employee who made the purchase or explain why it was business-related.
The IRS says supporting documents should identify information such as the payee, amount paid, proof of payment, date and description of the item or service. (IRS recordkeeping guidance)
Create a one-page shared-card policy that requires the following information:
| Required information | Example |
| Employee | Jordan Lee |
| Business | Northside Design LLC |
| Purchase date | September 9, 2026 |
| Vendor | Office Supply Co. |
| Amount | $84.50 |
| Business purpose | Presentation materials for Client A |
| Client or project | ACME-WEB-26 |
| Location | PHL-01 |
| Payment card | Card ending in 4821 |
| Review status | Submitted, needs information or approved |
Never include the full card number in a filename, note or tag. The last four digits are enough to distinguish one card from another.
Set a clear submission deadline, such as:
- Before the end of the purchase day
- By the next business morning
- Within 24 hours of the transaction
Then reconcile the shared card every week.
A weekly review helps you identify:
- Transactions without receipts
- Receipts without business purposes
- Purchases assigned to the wrong business
- Missing client, project or location codes
- Duplicate receipt submissions
- Personal purchases made accidentally
- Transactions that require manager approval
This gives the office manager a manageable exception list instead of a month-end search through messages, wallets, email inboxes and camera rolls.
What receipt-submission process should an office manager create?
A successful receipt system needs clear employee instructions. The technology helps, but employees still need to know what to submit and when.
Your process should answer six questions:
- Where should employees submit receipts?
- How quickly must receipts be submitted?
- What information is required?
- Who reviews the submissions?
- What happens when information is missing?
- How are receipts matched with transactions?
Keep the process short enough to fit on one page. Employees are more likely to follow a simple checklist than a lengthy policy.
A practical rule could be:
Submit every receipt by the next business morning. Include your name, the business entity, business purpose, client or project, location and the last four digits of the payment card. Incomplete submissions will be returned for correction.
A complete receipt-organization system for office managers
1. Separate each business
Create an account, cabinet or top-level structure for every business that maintains its own books.
Keep each business’s:
- Receipts
- Invoices
- Bank accounts
- Credit cards
- Expense categories
- Projects
- Locations
inside the correct business structure.
Tell employees exactly where each business’s documents should be submitted.
2. Add the appropriate tax year
Create a tax-year layer within each business.
Most individuals and many small businesses use a calendar year, but some businesses use a fiscal year. The folder structure should follow the tax year used by that business. (IRS tax-year guidance)
3. Standardize expense categories
Work with the bookkeeper or accountant to create a practical category list.
Use the same categories across clients, projects and locations whenever possible. Consistent categories make financial reports easier to compare.
Limit employee choices to the categories they actually need. An excessively long category list can increase errors.
4. Create approved codes
Maintain a controlled list of:
- Business names
- Client names
- Project codes
- Location codes
- Department names
- Employee names
- Payment accounts
Review this list periodically and remove duplicate or outdated values.
5. Create one receipt intake process
Employees should not submit some receipts by email, others through text messages and others in paper envelopes.
Create one primary submission process that supports:
- Photographs of paper receipts
- Forwarded email receipts
- Uploaded invoices
- Online purchase confirmations
Our guide to capturing paper, email, mobile and cash receipts explains how to create a consistent intake process.
6. Review exceptions weekly
Create an exception report or review queue for:
- Missing receipts
- Incomplete submissions
- Unmatched transactions
- Unapproved purchases
- Duplicate receipts
- Uncategorized expenses
- Receipts assigned to the wrong business
Follow up with the employee connected to the purchase. A targeted request is more effective than sending a general reminder to the entire team.
7. Review the structure quarterly
Meet with the bookkeeper, accountant or department manager to:
- Archive completed projects
- Remove duplicate project codes
- Retire inactive location codes
- Review frequently miscategorized expenses
- Confirm that new employees understand the process
- Update the shared-card policy
- Remove access for former employees
Do not rewrite historical records simply because a naming preference has changed.
Common receipt-organization mistakes
Mixing separate businesses
Receipts from different businesses should not be collected in one general folder and separated later.
Using projects instead of expense categories
A project explains why an expense occurred. The category explains what the business purchased. Most project expenses need both.
Creating too many folders
Deep folder structures are difficult to maintain. Use folders for major boundaries and searchable fields or tags for overlapping details.
Saving the same receipt multiple times
Keep one authoritative receipt and attach multiple organizing details to it. Duplicate documents can lead to duplicate expenses.
Allowing inconsistent names
Create approved business, project and location codes instead of letting each employee type their own version.
Accepting incomplete submissions
If required information is optional in practice, employees will learn to skip it.
Giving everyone unrestricted access
Employees should only receive the access necessary for their responsibilities. Periodically review who can view financial documents.
Waiting until month-end
Missing context becomes harder to reconstruct over time. Prompt capture and weekly review reduce the office manager’s workload.
How we help office managers organize incoming receipts
We built Neat for freelancers and small businesses that need more than a folder of receipt images.
Office managers can give employees consistent ways to submit documents through mobile capture, email or file upload. We use OCR to extract receipt information, allowing you to review the details and resolve exceptions instead of entering every field manually.
Inside your File Cabinet, you can create folders and subfolders that reflect your businesses, tax years, locations or major projects. Categories, project fields and other list-based fields provide additional context without requiring duplicate files.
Search and filters help you retrieve stored receipts using information such as:
- Vendor
- Date
- Category
- Project
- Folder
- Keyword
If your office manages more than one account, our multi-account access allows an invited user to switch between accounts using one sign-on. This can help an authorized office manager, owner, bookkeeper or accountant work with several business or client accounts.
Invited users receive full access to the accounts they join, so only people authorized to see the complete account should be invited. (Learn about our multi-account access)
You can also connect financial accounts and match uploaded receipts with their corresponding transactions.
For shared cards, we still recommend requiring the purchaser, business purpose, project and location during submission. Transaction matching connects the receipt with the charge, but employees must provide the operational information that does not appear on the card statement.
Our approach is best suited to office managers supporting freelancers, owners and small teams that need receipt capture, searchable records, expense categories and straightforward collaboration in one system.
A business requiring complex corporate-card controls, multi-level approvals or enterprise expense policies may need a more specialized workflow.
Start your free trial and create a receipt process that keeps every purchase connected to the correct business, client, project, location and employee.
This article provides general information about receipt organization and record-keeping. It is not accounting, tax or legal advice. Consult a qualified professional about requirements for your business.
Share This Article


Popular

September 23rd, 2026

March 9th, 2022


June 26th, 2020


August 23rd, 2022